
A small yarn pompom finishes an elf hat, a Santa hat or a hood tie, and you do not need a pompom maker to make one. An ordinary dinner fork is the right size for the little pompoms that go on amigurumi, and the whole thing takes about five minutes.
This guide shows the fork method step by step, then how to make the pompom fuller or smaller and how to attach it so it stays on.
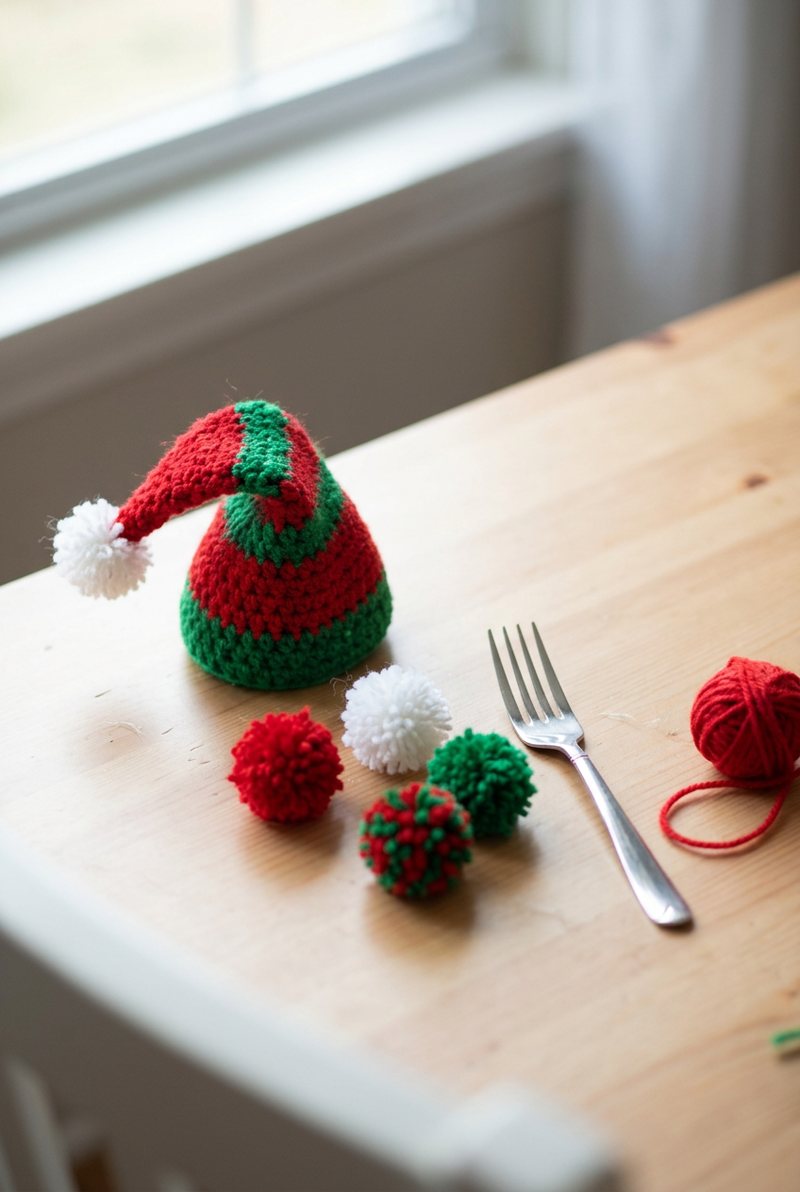
What You Need
- A dinner fork with four tines
- Yarn: any weight works; worsted or DK gives a fuller pompom than thin cotton
- Small sharp scissors
- A tapestry needle to sew the pompom on
How to Make a Pompom with a Fork
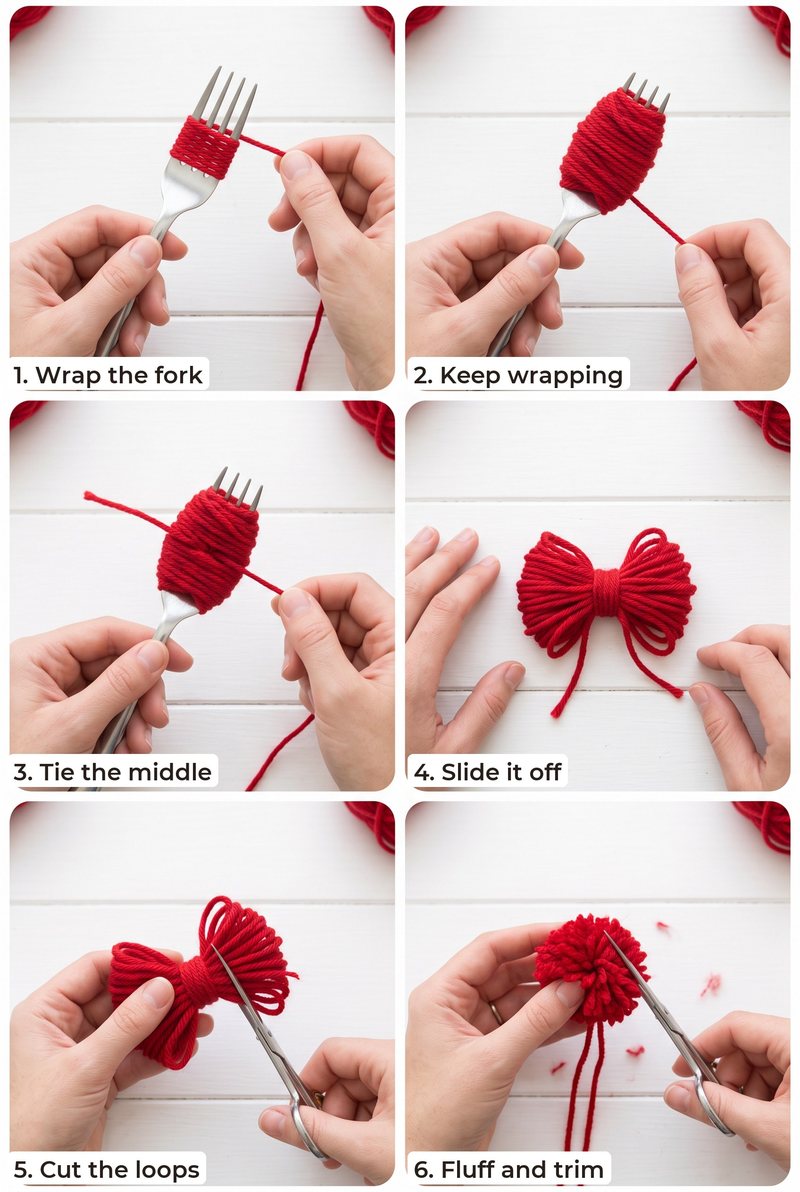
- Wrap the fork. Hold the yarn tail against the handle and wrap the yarn around the tines, keeping the wraps in the middle of the tines and not too tight.
- Keep wrapping. The more wraps, the fuller the pompom. Stop when the bundle is thick and plump; if you can still see the fork through it, keep going.
- Tie the middle. Cut the yarn. Thread a separate strand of about 20 cm through the gap between the two middle tines, around the bundle, and tie it as tightly as you can with a double knot. This tie holds the whole pompom together.
- Slide it off. Ease the bundle off the end of the fork. It looks like a bow tie, with loops on both sides.
- Cut the loops. Slide the scissors into the loops on one side and cut them all, then do the same on the other side.
- Fluff and trim. Roll the pompom between your palms to fluff it, then trim the long strands into a round ball. Leave the two ends of the tie long; you will use them to sew the pompom on.
Tips for a Neat Pompom
- Tie it tight. A loose middle tie is the main reason pompoms shed strands. Pull hard, knot twice, and pull again.
- Trim more than you think. A pompom only looks round once you have cut off a good amount. Turn it as you trim.
- Bigger pompoms. Wrap around two fingers, or a small piece of card, instead of the fork. The size of what you wrap around sets the size of the pompom.
- Two colours. Wrap half the bundle in one colour and half in another for a speckled pompom, like the red and green one in the photo.
How to Attach a Pompom to Amigurumi
Thread both long tie ends onto a tapestry needle, push it through the tip of the hat or the end of the tie, and come back out close to the same spot. Knot the ends on the inside and hide them. Our guide to sewing amigurumi pieces together covers hiding the tails.
For toys for babies and small children, a crocheted ball is safer than a yarn pompom, because a pompom can be pulled apart. Most of our Christmas patterns use a small crocheted ball for the hat tip for that reason.
Patterns to Use Your Pompoms On
- Jingle the Elf Kitten: swap the bell for a white pompom
- Holly the Elf Bunny
- Sora the Seal Pup: pompoms on the hood ties
- Christmas Biscuit the Santa Puppy
FAQ
Why does my pompom fall apart?
The middle tie was not tight enough, or there were too few wraps. Use a strong yarn for the tie, pull it very tight and double knot it.
Which yarn makes the fluffiest pompom?
Wool and acrylic fluff up more than cotton. Cotton makes a firmer, neater pompom that holds its shape well on small toys.
Can I make a pompom without a fork?
Yes. Wrap around two or three fingers, or around a folded piece of card, and tie and cut the same way.
Make a few at a time in Christmas colours and keep them in a jar; they finish a hat in seconds.
More Free Patterns You Will Love
Love these patterns? Get new ones in your Pinterest feed.
Follow us on Pinterest